
Контрактное производство электроники под ключ в Китае
Шэньчжэнь, район Баоань, улица Фуюн, улица Фуцяо, район 3, промышленный парк Лонгхуй 6


In high-speed design, the problem of characteristic impedance of controlled impedance boards and circuits has puzzled many Chinese engineers. In this paper, the basic properties, calculation and measurement methods of characteristic impedance are introduced in a simple and intuitive way.
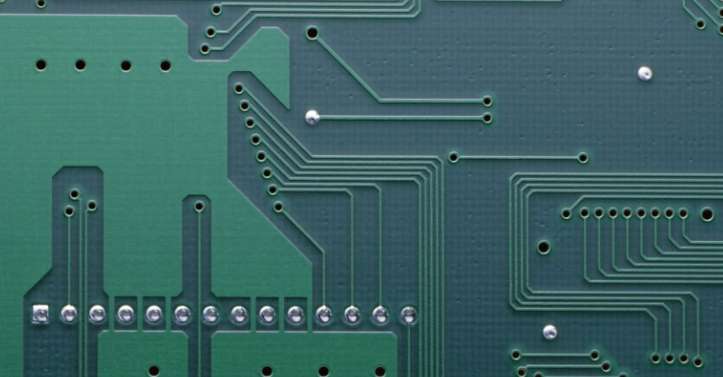
In high-speed design, the characteristic impedance of controllable impedance boards and circuits is one of the most important and common problems. A transmission line consists of two conductors of a certain length, one for sending signals and the other for receiving them (remember the concept of "loop" instead of "ground"). In a multilayer board, each line is an integral part of a transmission line, with the adjacent reference plane serving as a second line or loop. The key to a line being a "good performing" transmission line is to keep its characteristic impedance constant throughout the line.
The key to a circuit board becoming a "controlled impedance board" is to make the characteristic impedance of all the circuits meet a specified value, usually between 25 ohm and 70 ohm. In multilayer circuit boards, the key to good transmission line performance is to keep its characteristic impedance constant throughout the line.
But what exactly is characteristic impedance? The easiest way to understand the characteristic impedance is to look at what the signal hits in transit. When moving along a transmission line with the same cross section, this resembles the microwave transmission shown in Figure 1. Suppose a voltage step wave of 1 volt is added to the transmission line. For example, if a 1 volt battery is connected to the front of the transmission line (which is between the transmission line and the loop), once connected, the voltage wave signal travels along the line at the speed of light. It usually travels at a speed of about 6 inches per nanosecond. Of course, the signal is really the voltage difference between the sending line and the loop, which can be measured from any point on the sending line and the point of contact with the loop. Figure 2 is a schematic diagram of the voltage signal transmission.
Zen's approach is to "generate the signal" and then propagate it along this transmission line at about 6 inches per nanosecond. The first 0.01 nanosecond advances 0.06 inches, when the sending line has an excess positive charge and the loop has an excess negative charge. It is this charge difference that maintains the 1 volt difference between the two conductors, which in turn make up a capacitor.
In the next 0.01 nanosecond, the voltage of a 0.06-inch transmission line is adjusted from 0 to 1 volt, which must add some positive charge to the sending line and some negative charge to the receiving line. For every 0.06 inches moved, more positive charge must be added to the sending line and more negative charge to the loop. Every 0.01 nanosecond, another section of the transmission line must be charged, and the signal begins to travel along that section. The charge comes from the battery at the front of the transmission line, and as it moves along the line, it charges the continuous part of the transmission line, thus creating a voltage difference of one volt between the sending line and the loop. For every 0.01 nanosecond advance, some charge (±Q) is gained from the battery, and constant charge (±Q) flowing out of the battery over a constant time interval (±t) is a constant current. The negative current flowing into the loop is actually equal to the positive current flowing out, and just in front of the signal wave, the AC current passes through the capacitor formed by the upper and lower lines, ending the cycle.

Simple characteristic impedance model: Z=V/I, where Z represents the impedance at each step of the signal transmission process, V represents the voltage at which the signal enters the transmission line, and I represents the current. I=±Q/±t, where Q is the charge and t is the time of each step.
Power (from the battery) : ±Q=±C×V, C represents capacitance, V represents voltage. Capacitance can be derived from the capacity per unit length of the transmission line (CL) and signal transmission speed (v). The length value of the unit pin is taken as the speed, and then multiplied by the required time t of each step, the formula can be obtained: ±C=CL×v×(±)t. Comprehensive above, we may safely draw the characteristic impedance, Z = V/I = V/(+ Q / + t) = V/(x + C V / + t) = V/(CL * V/V * (+) t + t) = 1 / (CL (V)
It can be seen that the characteristic impedance is related to the capacity per unit length of the transmission line and the speed of signal transmission. In order to distinguish the characteristic impedance from the actual impedance Z, we add 0 after Z. The characteristic impedance of the transmission line is: Z0=1/(CL×v)
If the capacity per unit length of the transmission line and the signal transmission speed remain constant, then the characteristic impedance of the transmission line also remains constant. This simple statement connects the common sense of capacitance with the newly discovered theory of characteristic impedance. If the unit length capacity of the transmission line is increased, such as the thickened transmission line, the characteristic impedance of the transmission line can be reduced.
Measurement of characteristic impedance
When the battery is connected to the transmission line (assuming the impedance is 50 ohms at the time), attach an ohm meter to the 3-foot RG58 cable. How do you measure the infinite impedance? The impedance of any transmission line is time dependent. If you measure the impedance of the cable in a shorter time than it reflects, you measure the "surge" impedance, or characteristic impedance. But if you wait long enough until the energy is reflected back and received, the impedance can be measured to change. In general, impedance values bounce up and down to a stable limit.
For a 3-foot cable, impedance measurements must be completed within 3 nanoseconds. TDR(Time domain reflectometer) can do this by measuring the dynamic impedance of a transmission line. If you measure the impedance of a three-foot cable in one second, the signal will bounce back and forth millions of times, giving you a different "surge" impedance.


Достаточно загрузить файлы Gerber, BOM и проектные документы, и команда KINGFORD предоставит полное предложение в течение 24 часов.